The History Of The Classic Yorkshire Pud And How To Make Them Perfectly | ExpatWomanFood.com


The History Of The Classic Yorkshire Pud And How To Make Them Perfectly

Now where’s the gravy?

Posted on

5 February 2019

Yorkshire Pud

All Credits: PA

It’s Yorkshire Pudding Day, which is pretty much the perfect excuse for a Sunday roast with all the trimmings.

The day – first celebrated in 2008 – was created by recipes4us.co.uk founder, Florence Sandeman, who was inspired by all the random food days popping up in the US. She wanted to celebrate something more familiar and settled on this iconic British side dish.


In order to properly get stuck into the day, here’s a history of Yorkshire puds, and tips on how to nail them every time…

No Sunday roast is complete without a Yorkshire Pudding, and yet we know remarkably little about its history. Most assume it comes from Yorkshire, judging by the name, but there’s no certifiable evidence that that’s the case.

However, it is thought they were traditionally served as a cheap way to bulk up a meal, or to fill you up before the main course, meaning not so much (expensive) meat would be needed.

In its earliest incarnations, it’s been recorded as a “dripping pudding” as it was cooked beneath roasting meat in order to catch the precious drippings (melted fat). In 1737 book The Whole Duty Of A Woman, Sir Alexander William George Cassey gives the recipe for a perfect dripping pudding, instructing you you to make a pancake batter, heat a pan over a fire with a little butter, pour in the batter and cook beneath a shoulder of mutton.
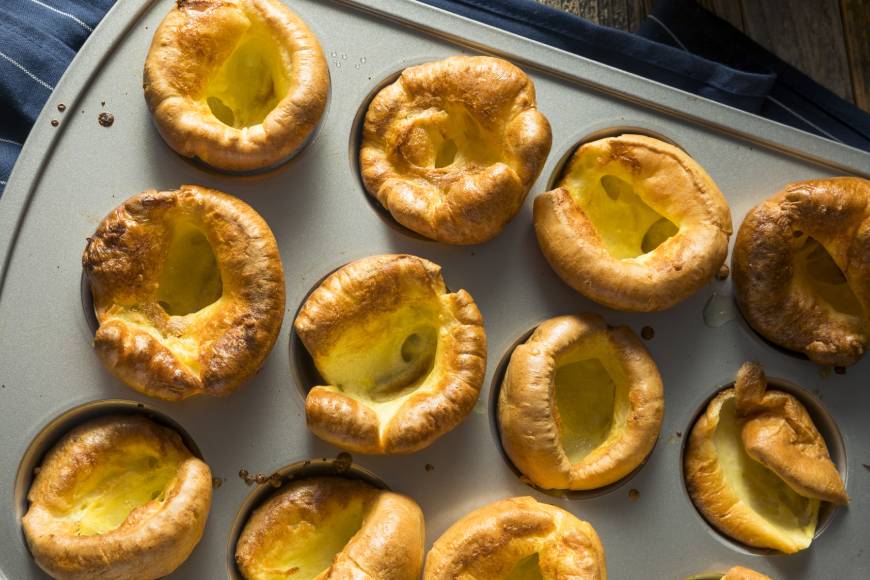
Back in the day, these puds were cooked as Cassey suggests, in one large pan and sliced into portions, but now we’re much more used to individual puddings (often nabbed from the freezer – no judgement), that are a whole lot puffier.

Most people have a favourite, trusted recipe – if you don’t, take a look at Sandeman’s here – but there are some universal tips that will help make your puds light, fluffy and crispy.

you want one with a high smoking point. This is not the time for fancy extra-virgin olive oil – stick to vegetable, sunflower and peanut oils. Pour the oil into your baking tin and give it enough time to properly heat up in the oven – don’t rush the process. And your oven needs to be very, very hot.

Make sure you weigh your quantities. Too much flour and the puds will be dense, but overdo the milk and the batter will be too loose. If you scrimp on eggs, they won’t rise properly, and if you want extra volume, you can add in an extra egg white.

The key is stirring the batter as thoroughly as you can because you don’t want any lumps. Once you’ve left it to rest for a while, give it one last stir to whisk up any flour that might have sunk to the bottom of the bowl.

Putting your batter in a jug will make pouring it out much easier – it’s one more item to wash, but it will definitely be worth it. Have a spoon at the ready to collect the drips in between pouring each pud.

It might be tempting, but resist the urge to open the oven door before your puddings are completely done – unless you want poor collapsed puds.

Then add gravy – who even needs the rest of the roast dinner?

-->