There are different materials and products out there to help you go plastic-free in the garden.
25 April 2019
| Last updated on 19 January 2020
All Credits: PA
So, you want to help stop the scourge of plastic by making your garden a plastic-free zone?
It’s estimated that 500 million plant pots and seed trays are sold each year, the majority of which are sent to landfill or incinerated.
SEE ALSO: Choosing the Right Compost for Your Dubai Garden
Few garden centres offer take-back pot recycling or reuse schemes at present, although you can check at Recycle Now (recyclenow.com/local-recycling) to see if your council recycles plant pots, though these also tend to be few and far between.
Plastic gardening products can take up to 450 years to biodegrade if they aren’t recycled, according to greenhouse manufacturer The Greenhouse People (greenhousepeople.co.uk), which has put together some top tips for going plastic-free:
If you’re feeling extra resourceful, scoop out the insides of half a lemon and fill with soil, before scattering a small number of seeds. Once the seedlings sprout, you can transfer to a larger area. Lemon peel also acts as a natural fertiliser, making it a great multi-purpose alternative to plastic.
Use biodegradable jute netting to tie in peas and beans, rather than plastic netting, and wire mesh to create fruit caging to protect your harvest from birds.
They will still get your seeds off to a flying start and are much more eco-friendly than plastic ones. You can also now buy bamboo seed trays which are biodegradable. You can even plant seeds such as broad beans and sweet peas in loo roll tubes.
3. Make use of broken pots
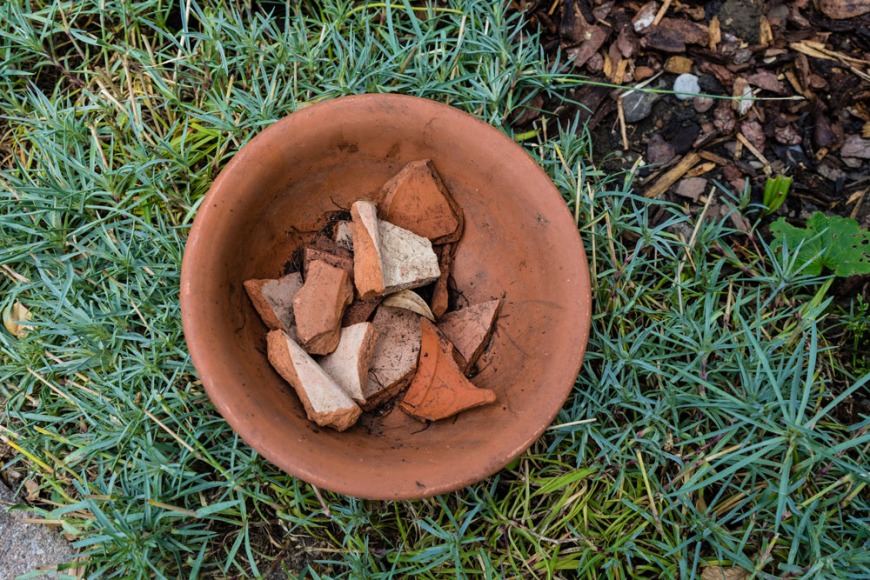
One of the main benefits of plastic is that it’s durable and very unlikely to break. The same cannot be said for the more brittle terracotta and ceramic pots.
But don’t dispose of them if they break. Plant pot shards are easy to repurpose by placing them at the base of larger pots to improve drainage, or stick them in the ground and write on them to create handy plant labels.
4. Choose tools wisely
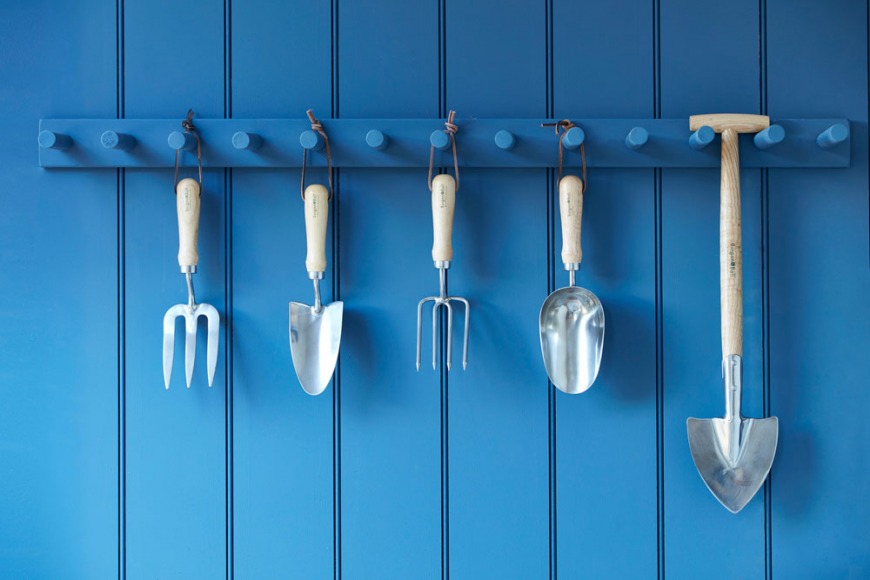
When it comes to gardening tools, it’s important to think about durability, comfort, as well as the interests of the environment.
With this in mind, if you’re serious about reducing the amount of plastic in your garden, opt for metal tools with wooden handles, which should outlast their plastic rivals.
Metal can rust, so a little TLC is needed at the end of each season to keep them in tip-top condition. Clean each tool with a rag or brush, using warm soapy water, then when dry, spray with WD-40 or rub down with mineral oil. Store by hanging on hooks (away from the damp floor) in a dry airy location for the winter.
If you find you’ve somehow accumulated lots of plastic-based tools and equipment, don’t fret.
Should you use a community allotment or have friends who also enjoy a spot of gardening, why not suggest sharing your plastic equipment or handing it down?
Be a green pioneer and inspire fellow gardeners with the changes you’re making and they may just follow suit. Remember, knowledge is power, so if you’re serious about preserving the environment, lead by example.


.png?itok=HBSyMDok)


.png)









.png?itok=0fOAXkOm)


.png?itok=EH_x0Pha)
